Our Stock Tank Pool: What It Cost, Things to Consider, and Was It Worth It?
If you've spent any time online looking at stock tank pools, you've probably noticed that most posts show the finished product—but not many talk about the little details that can make or break your budget.
After living with ours through a Mississippi summer, I wanted to share what it actually cost, a few things I learned that weren't really explained in the videos and blog posts I found, and whether I'd do it again.
Thinking about building one yourself? This post covers the big picture, but if you’re ready to tackle your own stock tank pool, I’ve also created a DIY Stock Tank Pool Guide that includes the exact materials I used, step-by-step installation instructions, and all the little details that don’t usually make it into blog posts.
What We Built
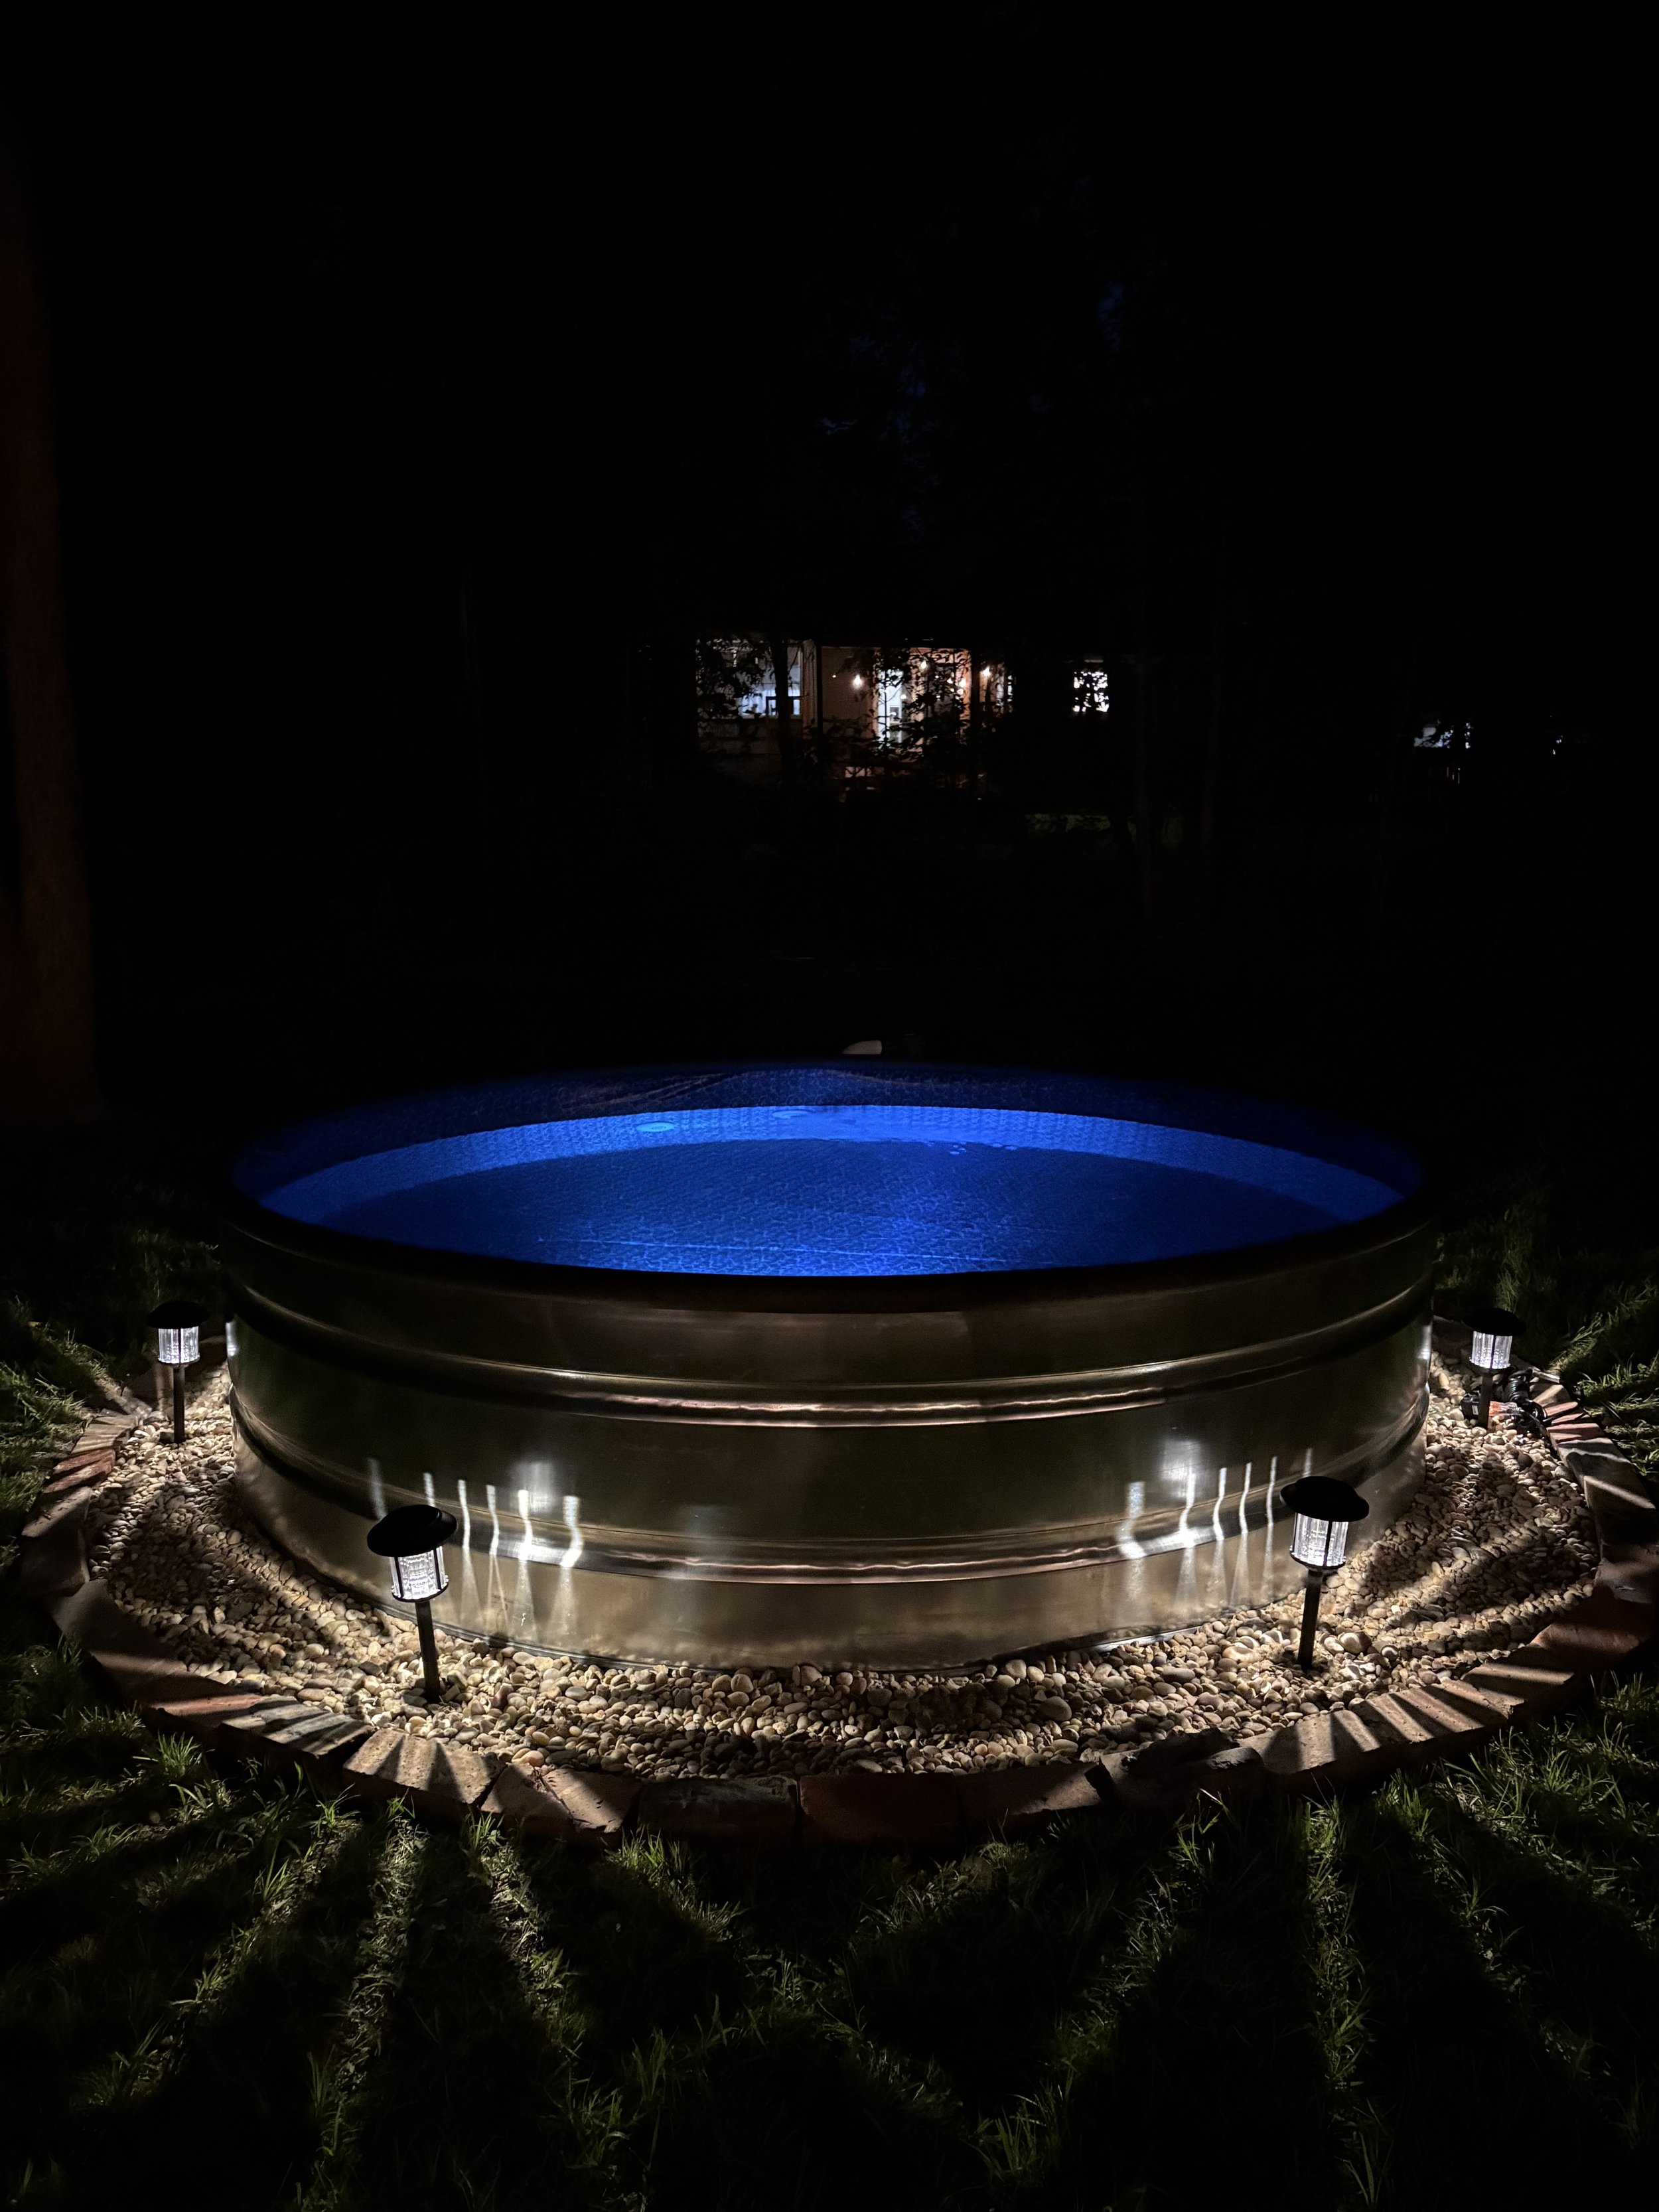
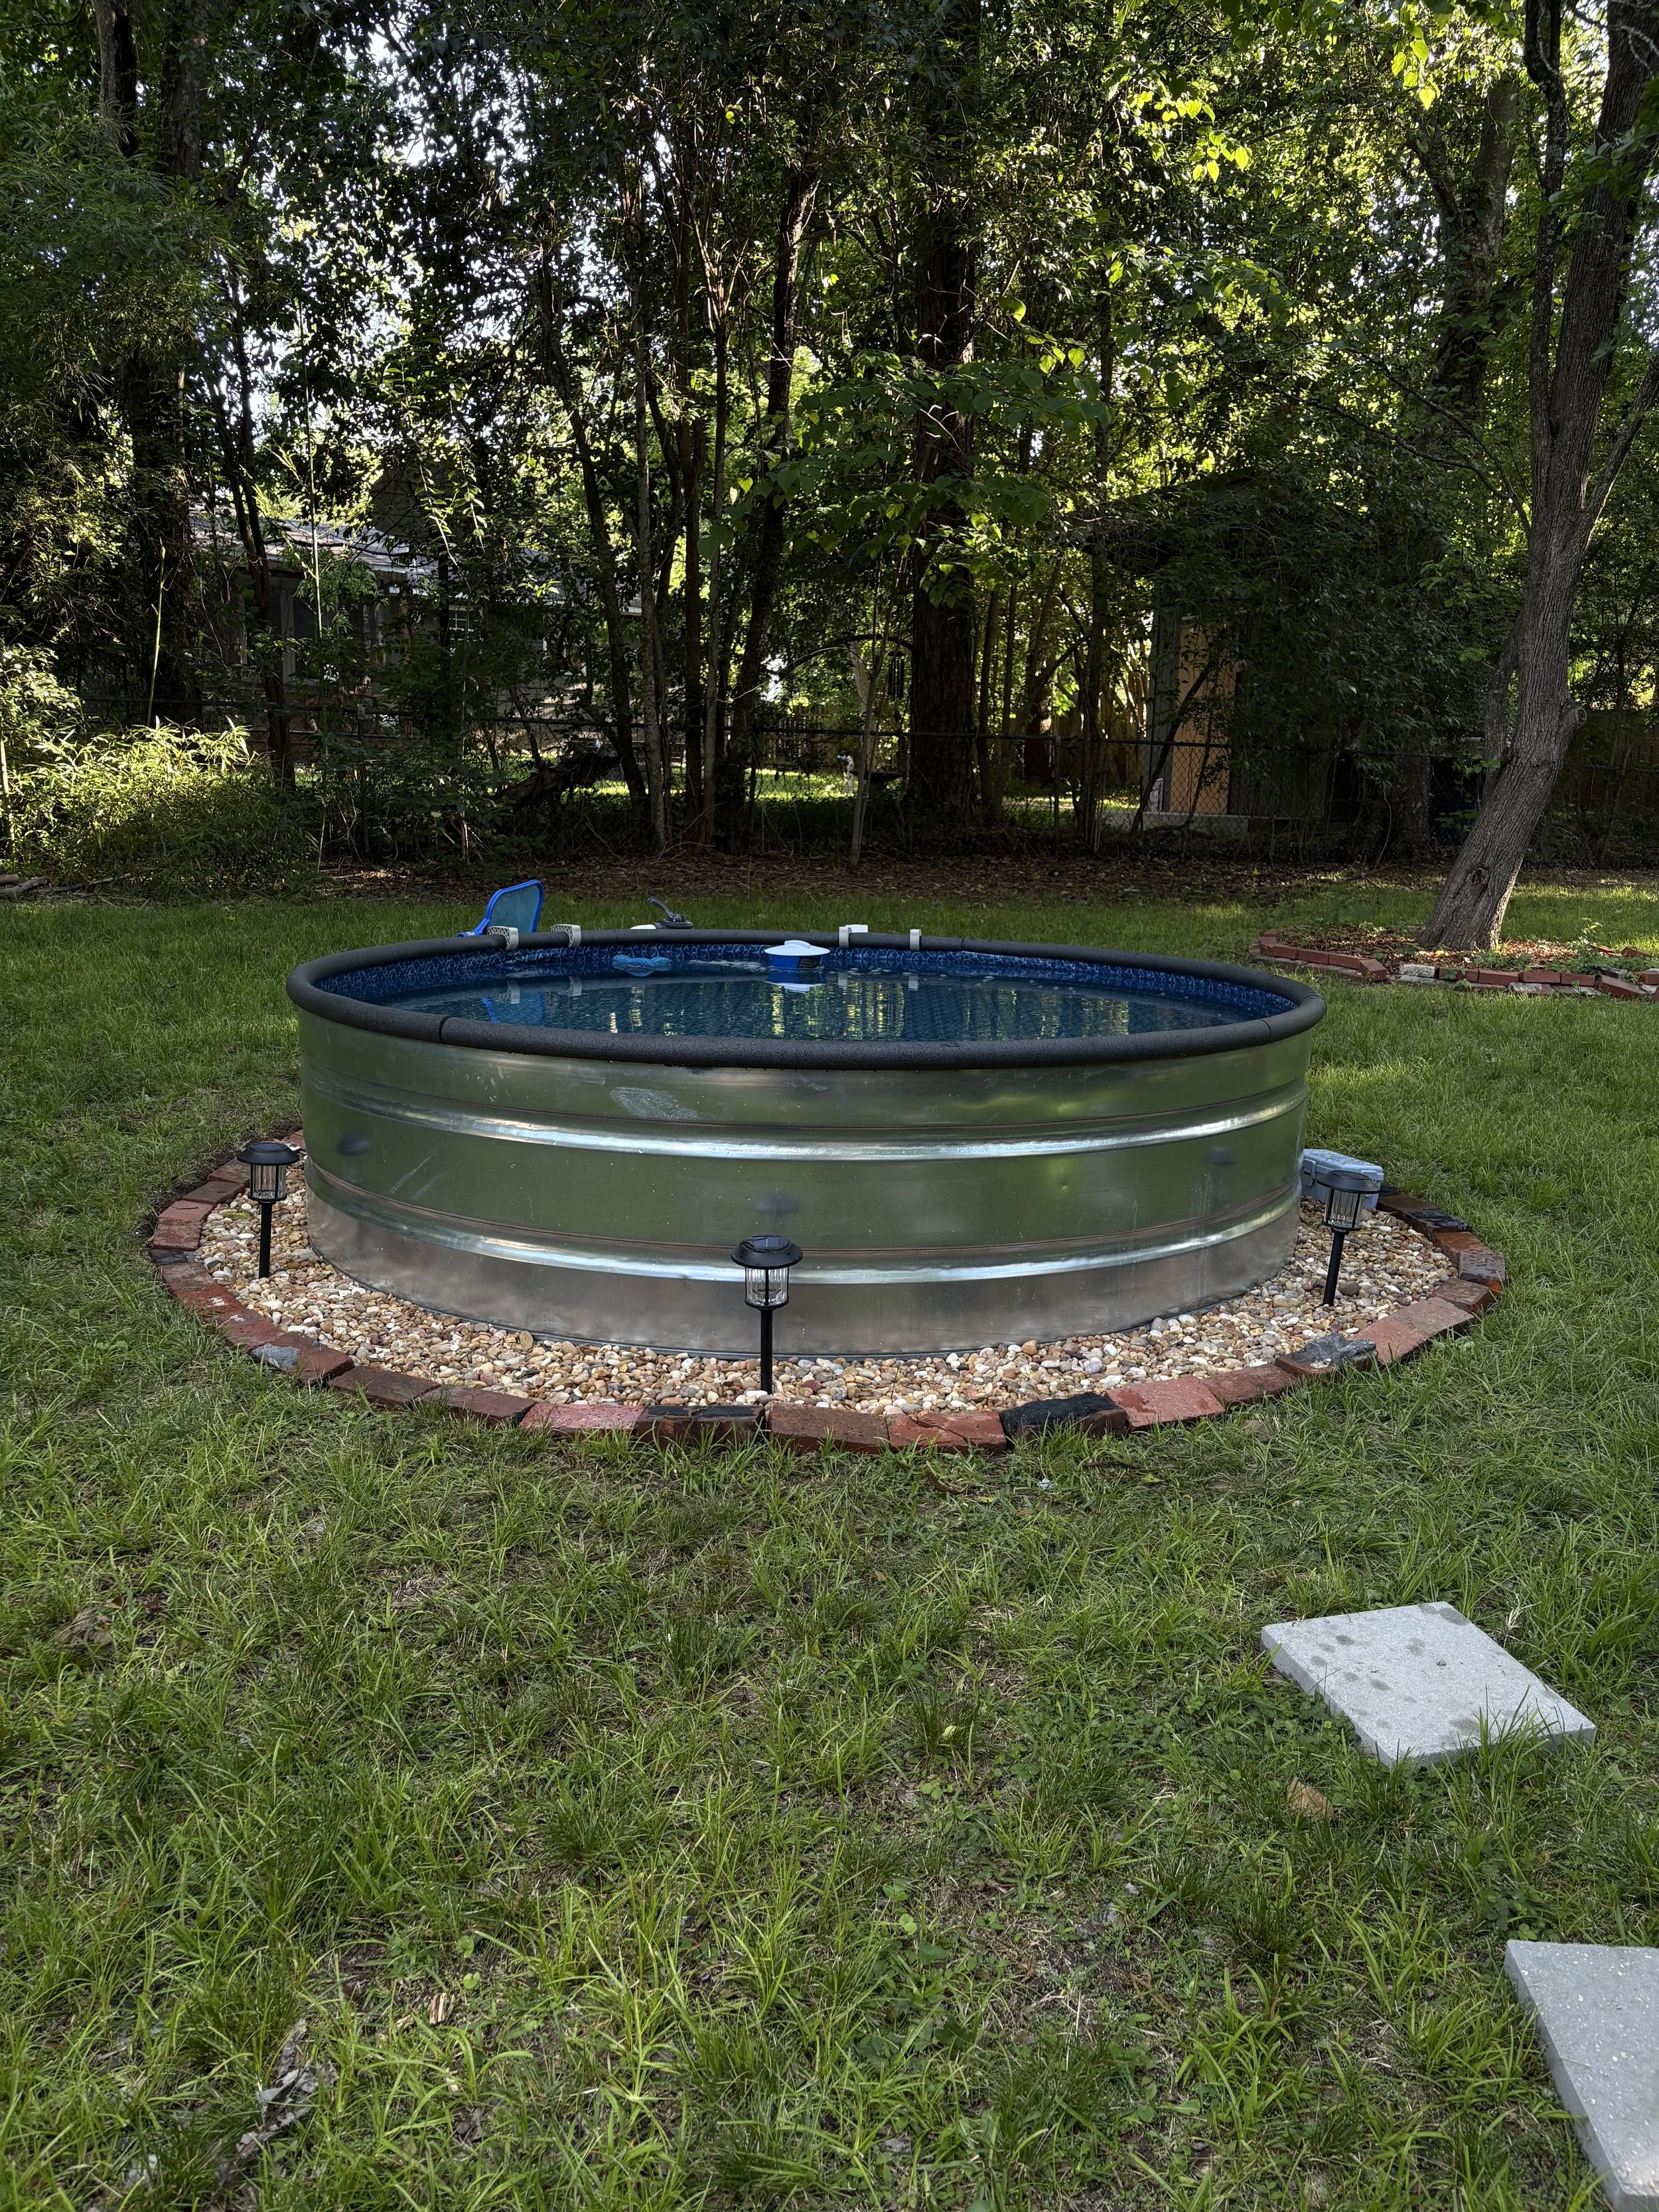
We chose an 8-foot galvanized stock tank with a Clear Sand Filter Pump, and it has been the perfect size for our backyard. While it doesn’t replace a traditional swimming pool, we’ve comfortably had up to six adults sitting in it at one time. It’s perfect for cooling off after working outside, relaxing in the evenings, or having friends over without dedicating your entire yard to a pool.
Instead of buying a pre-packaged kit, we ordered the components separately so we could choose exactly what we wanted while keeping the project as economical as possible.
What It Cost
Here are the approximate costs for our setup:
8’ Galvanized Steel Stock Tank: $500
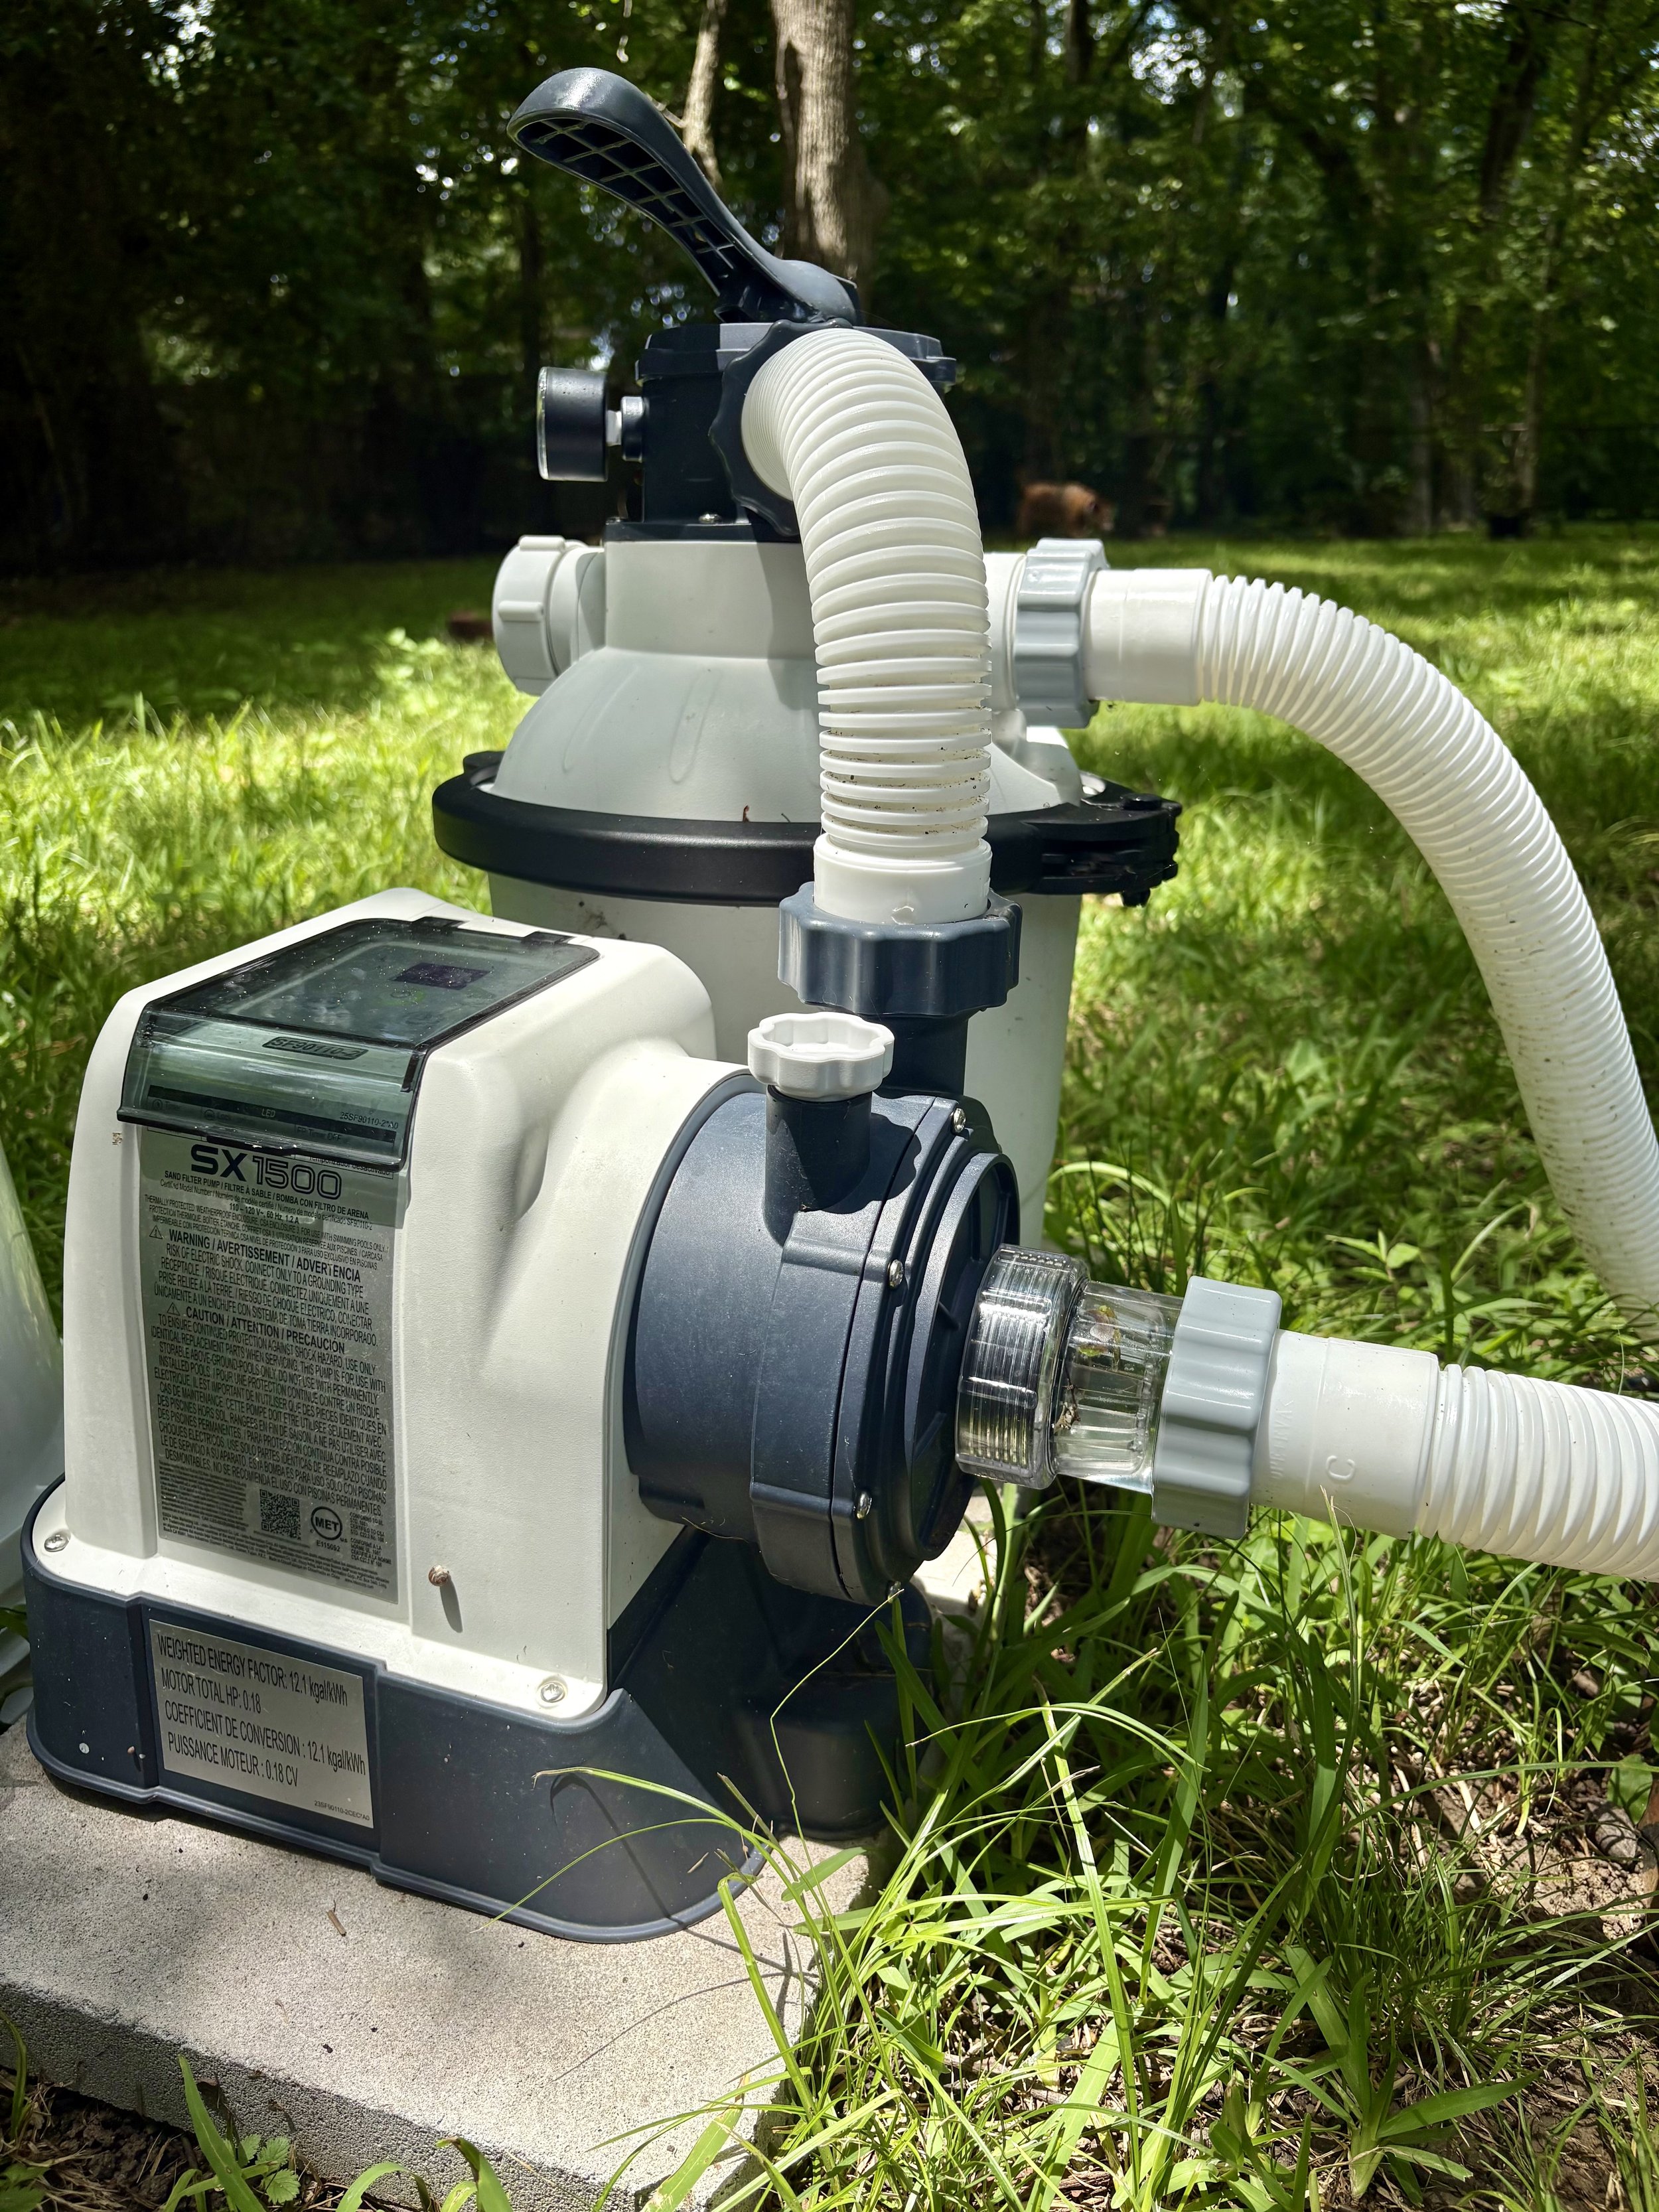
Clear Sand Filter and Pump: $150
Sand for Filter: $20
Inlet/Outlet Nozzles and Plunger Valves: $40
Marine Grade Silicone and Miscellaneous Hardware: $50
Hole Saw and Installation Supplies: $75
Heavy Duty Extension Cord and Waterproof Electrical Box: $65
Pool Chemicals and Maintenance Supplies: $75
Trailer Rental: $50
Decorative Gravel, Lighting, and Finishing Touches: $150
Once everything was said and done — including all the little accessories that made the space feel finished — we spect right around $1,300.
One thing that can add up is sales tax. When you’re buying everything from multiple stores and online retailers, those taxes really start to add up. Then there are the inevitable “one more thing” purchases that every DIY Project seems to require.
If you’re budgeting for a stock tank pool, I’d recommend leaving yourself a little extra room. It’s much easier to be pleasantly surprised than to blow your budget at the finish line.
Things to Consider Before You Build
These aren’t necessarily mistakes — they’re just things I had to learn because they weren’t really covered in the videos and blog posts I found.
Getting it Home
One thing I didn’t realize before ordering was that most places don’t ship or deliver stock tanks. You’ll likely need to pick it up yourself. The 8-foot stock tank isn’t especially heavy, but it is incredibly awkward to move.
We first tried transporting it in a box truck, and that was a complete failure. We ended up renting a smaller trailer, which worked, but it definitely wasn’t ideal. If I were doing it again, I’d rent or borrow a flatbed trailer from the beginning. It would make pickup so much easier.
Order All the Parts You’ll Need
Unlike a traditional above-ground pool, these don’t come with everything packaged neatly together. Each component has to be ordered separately, including things like the inlet and outlet nozzles, plunger valves, and other fittings.
It takes a little more planning, but it also lets you choose better equipment. I’m especially glad we went with a sand filter. It keeps the water incredibly clean, and maintenance has been so much easier than I expected. I’ve used cartridge filters in the past and they were a beast to maintain.
Double Check Your Hole Saw Size
Measure twice.
Then measure again.
Make sure our hole saw is slightly larger than your inlet and outlet fittings. Trying to enlarge a hole after you’ve already cut through galvanized steel is a job I’d rather never do again.
Take Your Time Leveling the Ground
Don’t rush this step.
Water weighs thousands of pounds, so if your pool isn’t level, all that weight shifts toward the downhill side. A properly graded base looks better, protects your pool, and gives you much more peace of mind.
Decide How You Want the Pool to Feel
Many people paint the inside of their stock tank, and it creates a really clean look. We decided to install a liner because we wanted the sides and bottom of the pool to feel softer. For us, comfort was more important than having exposed galvanized steel, and I’d absolutely make the same choice again.
Marine Grade Silicone is Worth It
You’re attaching a flat fitting to a curved metal tank. Tiny gaps are almost unavoidable. A generous bead of marine-grade silicone around the fittings from the very beginning can save you a lot of frustration chasing leaks later.
Plan Your Electrical Setup
Think through how you’re going to power your pump before you start filling the pool. If you’re using an extension cord, make sure it’s heavy-duty and rated for outdoor use. We also bought a waterproof outdoor electrical box to protect all of our connections from rain, and it’s worked beautifully.
This Needs to Be a Chlorine Pool
Stock tank pools should not be saltwater. Salt will corrode galvanized steel over time and shorten the life of the tank. Stick with chlorine, and your pool with thank you.
Was It Worth It?
Absolutely!
Summers in Mississippi are no joke. When it’s 95° outside with a heat index over 105°, there aren’t many other ways to enjoy your backyard. This pool has completely changed that. It’s become our favorite place to cool off after working in the garden, unwind in the evenings, and actually enjoy being outside during the hottest months of the year.
For around $1,300, we created a backyard space that we’ll use all summer long — and I’d build it again in a heartbeat.
If you’re ready to build one yourself, my DIY Stock Tank Pool Guide includes the exact parts I purchased, approximate prices, a complete shopping checklist, step-by-step installation instructions, and all the lessons I learned along the way. My goal is to save you the hours of research and trial-and-error that went into building ours so you can spend more time enjoying your pool.